Here we give a step-by-step guide for installing and running Proofgold Core on a 64-bit Debian machine. Similar steps should work for other linux systems.
Step 0. Run a litecoin node. We will not describe this here, except to say the litecoin.conf file should contain lines giving values for rpcuser and rpcpass. Make sure the rpcpass is secure or someone may be able to control your litecoin node (spending any litecoins there to themselves). It is best practice to only allow local access to the litecoin node by including rpcallowip=127.0.0.1 in the litecoin.conf file. It is also possible to run litecoin and proofgold on different machines in which case an rpcallowip entry giving the ip of the proofgold node should be included in litecoin.conf.
Step 1. Install the prerequisites. You will need to do this with superuser privileges.
Step 2. Get and install the latest Zarith library for
ocaml. In the screenshot below the make install may require superuser
privileges. It is also possible to install Proofgold with a local
installation of Zarith, though this may require editing the Proofgold
Makefile (see Makefile.in) to give the path to Zarith.


Step 3. Get the latest version of Proofgold Core from proofgold.org and untar it. The screenshots below are for Proofgold 0.2.1, but make sure to get version 0.2.3 or later.


Step 4. Configure Proofgold by calling the configure
script. This will create a .proofgold directory in your home directory.
If you want the directory to be somewhere else, give the alternate
location by calling configure with -datadir=fullpath.

Step 5. Call make to compile Proofgold and create the proofgold (and proofgoldcli) executables.

If for some reason your system does not have make, you may be able
to use the script makebytecode or the script makevmbytecode.
In some cases the compilation will complain about an inability to
find Zarith. In that case +zarith must be replaced with a full path to the location of Zarith.
Step 6. Create and edit a proofgold.conf file in your .proofgold data directory.

You will need to include the rpc information for the litecoin node by giving lines of the form
ltcrpcuser=ltc rpc username
ltcrpcpass=ltc rpc password
If you want your Proofgold node to listen for incoming connections put the ip address on a line of the form
ip=ip address
There are many other optional configuration parameters, e.g., to
control the maximum number of connections, whether the node is staking
and whether the node is making atomic swaps with litecoin. We do not
discuss these here to keep the guide brief.
Step 7. Start Proofgold for the first time.
With the default settings, Proofgold will use a recent bootstrap
(found by looking for bootstrap alert messages broadcast as ltc
transactions) to populate the database. This process may take an hour or
two. If it fails or you need to interrupt it, remove completely the
directory db in the .proofgold directory and try again.

An alternative to relying on the bootstrap is to add the following line to proofgold.conf:
independentbootstrap=1
This is more secure since your node will download and check the
blockchain so far step by step, but it is likely to take a long time to
sync with the network.

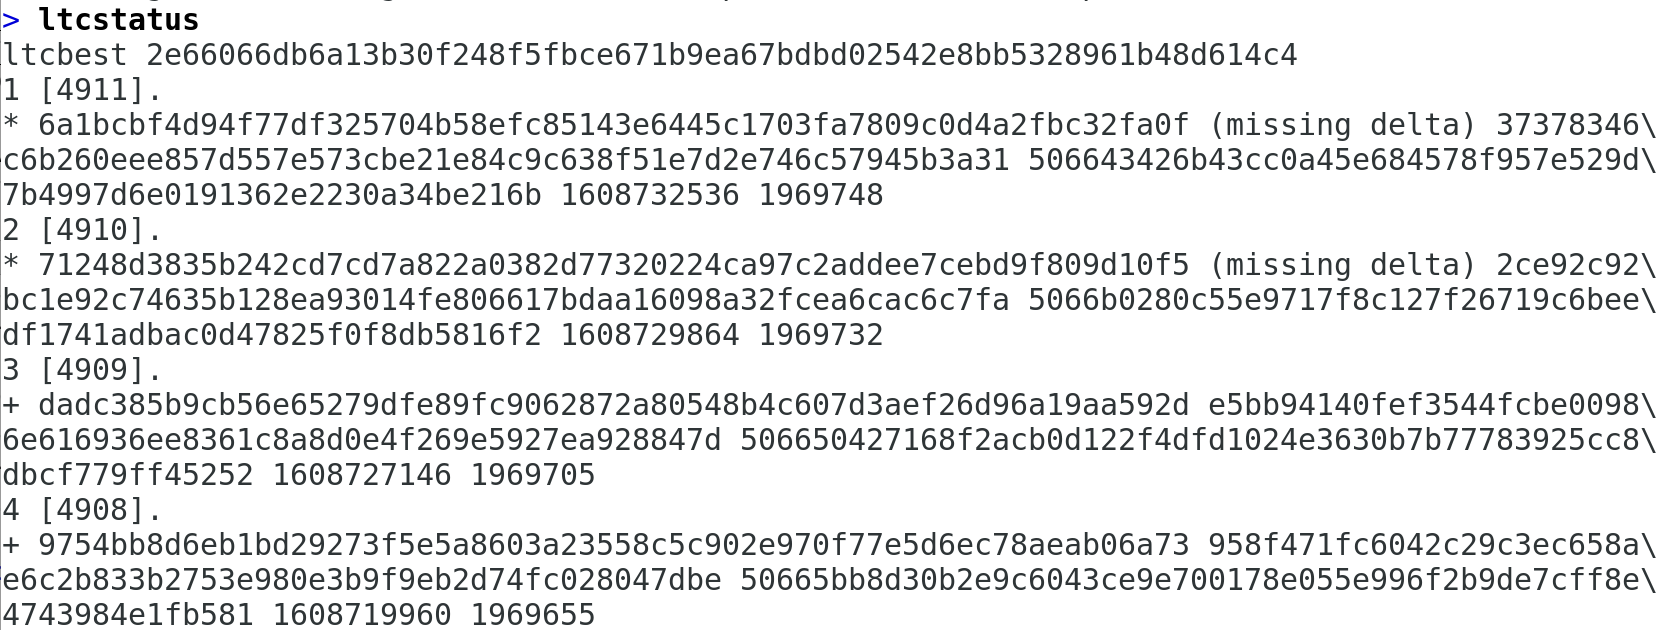
ltcstatus This shows the outline of all Proofgold blocks burned into the Litecoin blockchain in the past week.
The first lines printed after ltcstatus will either start with +, * or -. If they start with +, your node is in sync, i.e., has the latest blocks and has validated them. If the lines start with *, then some recent blocks are still being requested from peers or validated. In the unusual case some lines start with -, then some invalid blocks have recently been created.
getpeerinfo The command getpeerinfo gives information about connections to other peers.

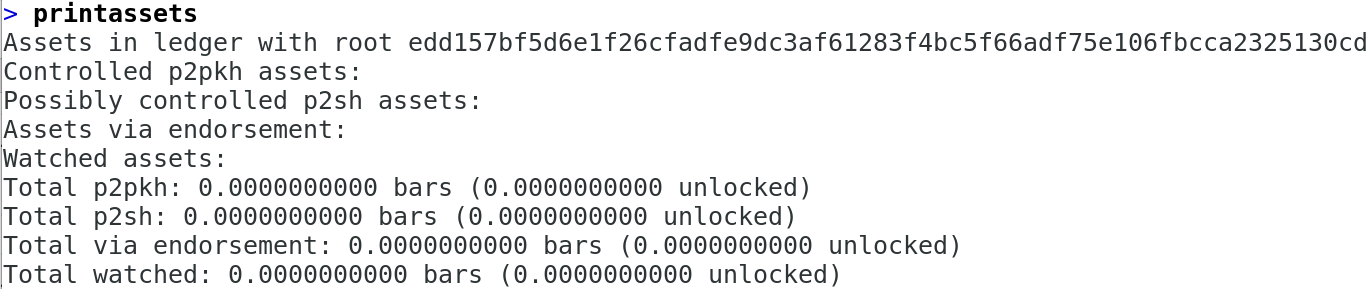
printassets Once your node is in sync, the command printassets should show any assets controlled by your wallet.
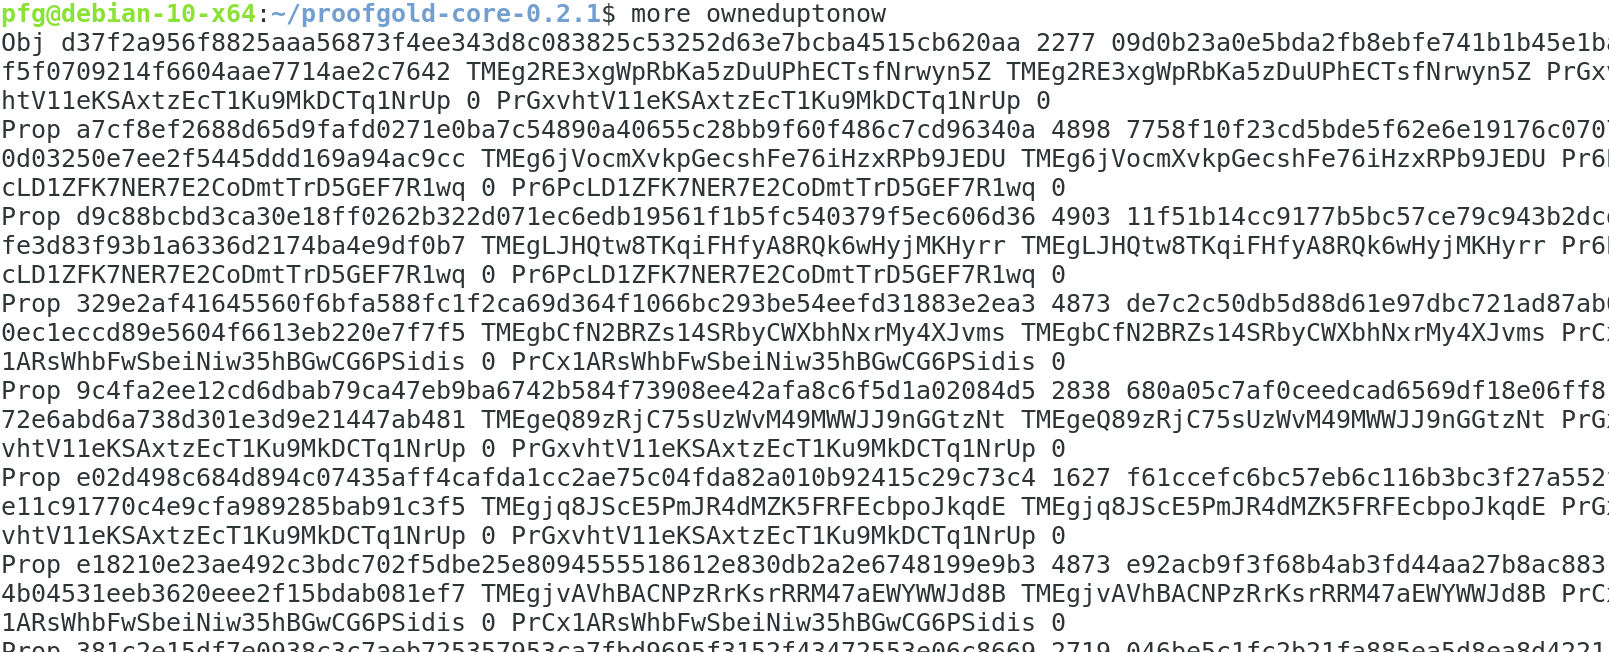
reportowned The command reportowned creates a file
listing all currently objects and propositions. This corresponds to
which definitions have been made and which theorems have been proven. In
the case below the created file is called owneduptonow.

In a shell we can count the lines, giving a rough estimate of how
many objects have been defined and how many theorems have been proven.
The number of lines is roughly double the sum of the number of objects
defined and the number of theorems proven.

To see more specific information: